Burr Wear Patterns Analysis and Grinder Performance Timeline
By Lucía Hernández • 29th May
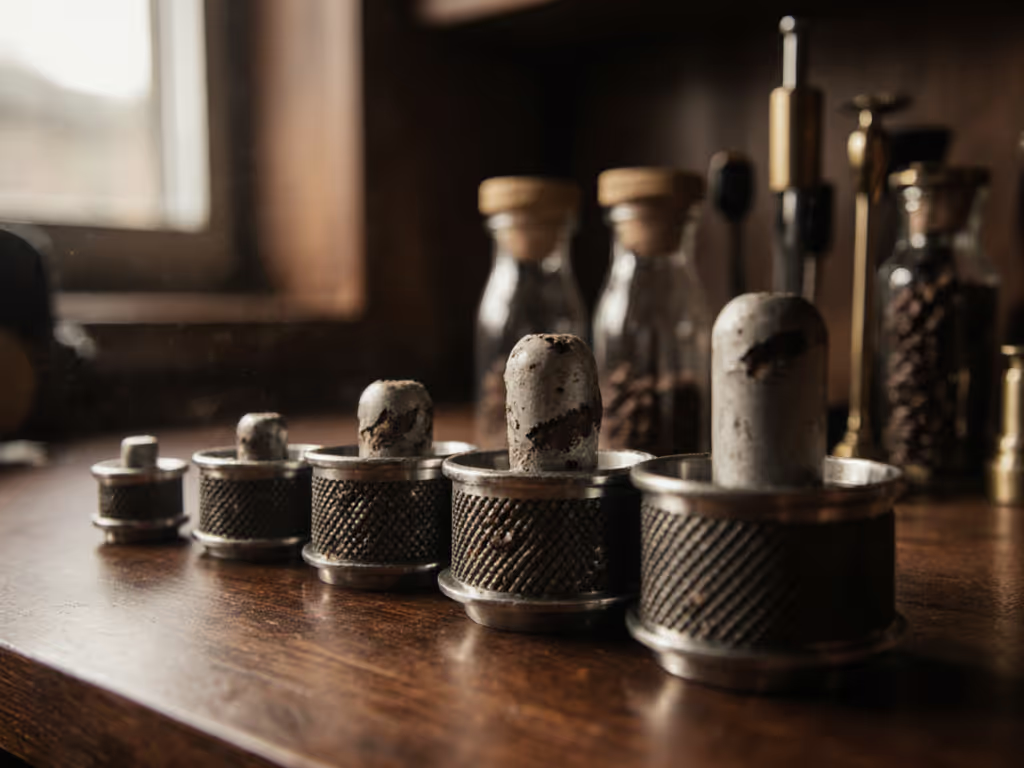
If you care about consistent cups over years, burr wear patterns analysis and a realistic grinder performance degradation timeline matter more than whatever the launch spec sheet promised.
Most home baristas notice when a grinder is new and "seasons," and they might notice when it is completely dull, but there is a long middle period where burrs slowly change, extraction yield changes creep in, and you compensate without realizing how much performance you have lost.
Buy the path, not just the spec sheet.
This guide breaks down how burrs wear, what that does to taste, how to identify wear patterns at home, and when burr replacement is smarter than replacing the entire grinder.
1. How burrs wear: from sharp cutting to polished crushing
Burrs are cutting tools. Over time, coffee, chaff, and occasional hard particles round over the sharp edges and polish the faces. The result is a gradual shift in how coffee is fractured.
What changes physically
On both flat and conical burrs, wear concentrates in a few areas:
- Leading edges of the cutting teeth lose their crispness and become slightly rounded.
- High-contact zones (where beans first crack and where fines are created) become more polished and reflective.
- Micro-chipping can occur at the very edges, especially with hard light-roast beans, producing more fine dust over time.
None of this happens overnight. Instead, the burrs move through a sequence:
- Very sharp and slightly rough when brand new.
- Rapid "break-in" where the sharpest asperities are knocked off.
- Long plateau of relatively stable performance.
- Slow loss of cutting efficiency and increasing inconsistency.
Experiments on new burrs show that the early break-in significantly changes fines production and extraction behavior in the first few kilograms of coffee, before the curve flattens into a stable plateau. For a deeper dive into how particle distribution affects taste, see our extraction science guide.
What changes in the cup
As burrs move along this curve, you may notice:
- Shot/pour speed drift: You need finer and finer settings over months to hit the same espresso shot time or pour-over flow.
- Extraction yield changes: For the same recipe and grind setting, you may see slightly lower extraction yields on a refractometer, or you need to grind finer to reach previous yields.
- Taste balance shifts:
- Filter: more muddled cups, less clarity, harder to separate sweetness from bitterness.
- Espresso: more channeling sensitivity, narrower "sweet spot," and a greater tendency to taste simultaneously sour and bitter.
These shifts are gradual, which is why logging and measurement matter. To understand the measurable impact of burr wear on extraction stability, consult our dedicated breakdown.
2. The grinder performance degradation timeline
We can think of grinder performance over time in three main phases. The exact timing depends heavily on usage and burr material, but the shape of the curve is similar across grinders.
Phase 0: Break-in (first few kilograms)
New burrs often produce extra fines and slightly harsher cups, then "settle" after a few kilograms as the sharpest micro-teeth are worn down and the surface texture stabilizes.
On a typical home grinder, this phase might be:
- 1-3 kg of beans for steel burrs.
- A bit longer for some very hard, coated burrs.
Taste impact:
- Early cups can be slightly more astringent and less sweet.
- After break-in, you often get smoother flow, more predictable extraction yields, and more stable tasting notes.
Phase 1: Performance plateau (the long middle)
Once the burrs are broken in, most home users enjoy a multi-year plateau where:
- Grind setting vs. flow behavior is highly repeatable.
- Particle distribution shifts are too small to pick up without lab tools.
- Any extraction yield changes are within normal day-to-day variation.
Industry rules of thumb (based on manufacturer guidance and field experience) often place steel burr life somewhere in the hundreds of kilograms range before obvious dullness, especially for filter-oriented use. For home espresso usage at 1-4 shots per day, that can translate to a decade or more of usable life under normal conditions. (This is an inference from typical manufacturer ratings rather than a controlled study.)
Phase 2: Slow degradation (creep you can taste)
Late in the burrs' life, several things happen at once:
- You must grind significantly finer than your historical baseline to get similar shot times or brew times.
- Flow becomes less predictable at the same setting; shot times and TDS vary more.
- Espresso becomes harder to dial in on lighter roasts; filter brews feel simultaneously more silty and less expressive.
Because this is a slow curve, you will often adapt (changing grind, dose, and yield) without realizing that dull burrs are the underlying cause.
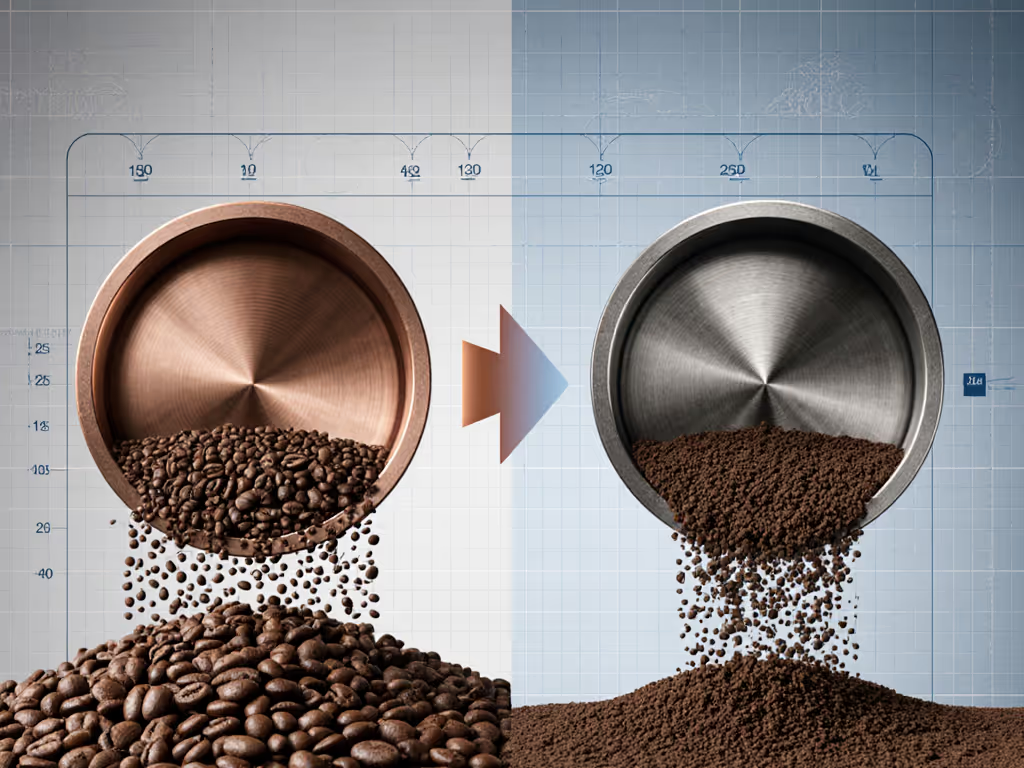
3. Burr wear pattern identification: what you can measure at home
You do not need a particle analyzer to do meaningful wear pattern identification. You just need a few simple checks and some record-keeping.
3.1 Visual inspection
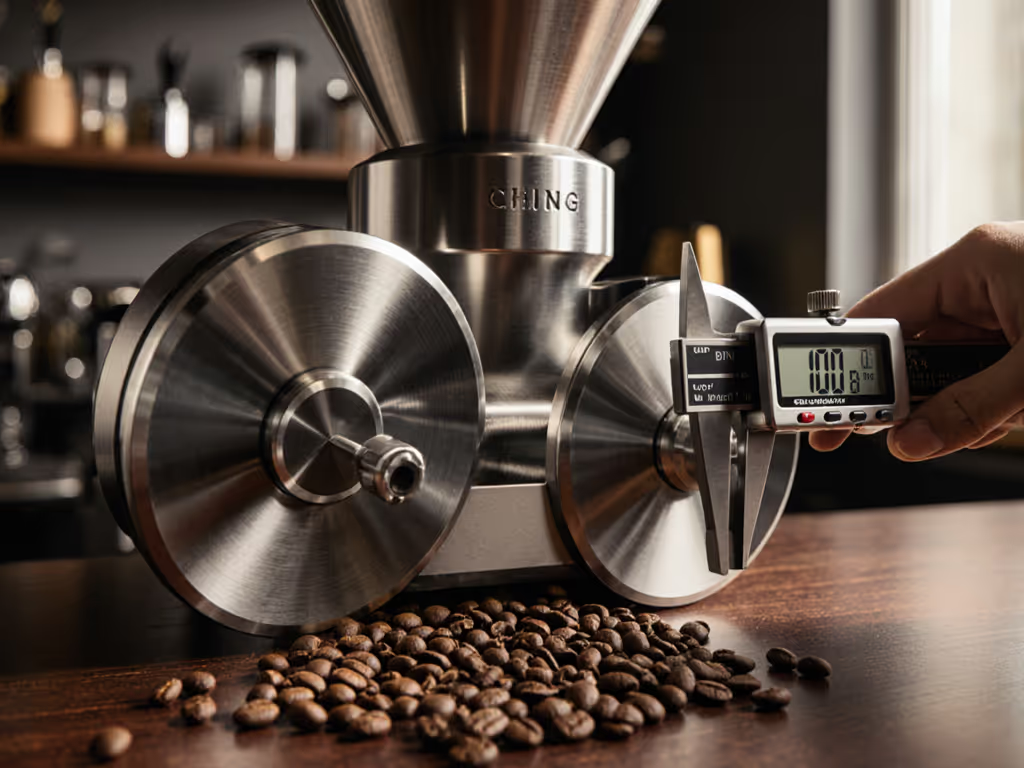
Unplug the grinder, remove the hopper, and expose the burrs. With a strong light:
- Look for bright, mirror-like polishing on the primary cutting flats.
- Inspect the leading edges - they should still look like crisp ridges, not rounded ridgelines.
- On flats, note any asymmetry where one side looks significantly more worn than the other (this can hint at alignment or bearing issues, not just burr wear). If you suspect misalignment, follow our burr alignment troubleshooting guide.
Mild polishing is normal after break-in; what you are looking for is heavily polished faces and edges that look more like domes than blades.
3.2 Tactile check (carefully)
With the grinder unplugged and burrs exposed, you can very gently drag a fingernail across (never along) a cutting edge:
- Sharp, healthy edges will catch your nail distinctly.
- Very worn edges feel smoother and less defined.
Take care here - burrs can still be sharp enough to cut skin even when "worn" for our purposes.
3.3 Functional tests (the useful data)
A few repeatable tests tell you more than staring at steel:
-
Grind setting drift log
-
Pick a stable coffee and recipe.
-
Once, when the grinder is performing well, log: dose, grind setting, shot time or brew time, and, if possible, TDS/extraction yield.
-
Every 3-6 months, repeat with a similar roast and note how many notches finer you need to go to match the same flow and extraction.
-
Extraction yield changes
-
If you use a refractometer, track extraction yields for a standard test brew.
-
When you have to grind substantially finer and still see a downward drift in extraction at similar brew ratios, that is a sign of burr degradation, not just beans or water.
-
Time-to-grind test
-
Periodically time how long it takes to grind a fixed dose at your usual settings.
-
A substantial increase in grind time (with no motor issues) can indicate reduced cutting efficiency and more "crushing."
These tests are cheap, repeatable, and give you a personal grinder performance degradation timeline tailored to your usage.
4. Approximate timelines by usage and brew method
These are ballpark home-use estimates based on manufacturer guidance, service tech reports, and field experience, not a lab study. Use them as a planning tool, not as strict limits.
Light home use (mostly filter, 1 cup/day)
- Break-in complete: ~1-2 months.
- Plateau: 5-10+ years of essentially stable performance.
- Noticeable degradation: often delayed by other factors (motor noise, desire to upgrade) before burrs are truly "spent."
Medium home use (mix of espresso and filter, 2-4 cups/day)
- Break-in complete: a few weeks.
- Plateau: roughly 3-8 years, depending on roast level and burr hardness.
- Degradation: you might start chasing finer settings for espresso and see more sensitivity to puck prep on light roasts.
Heavy home / prosumer use (mostly espresso, 5+ drinks/day)
- Break-in complete: within the first month.
- Plateau: 2-5 years before performance decline becomes obvious.
- Degradation: extraction consistency becomes harder to maintain; you may notice you are much closer to the mechanical zero of the grinder than you used to be.
Small café or office (high volume)
- Burr life is primarily measured in kilograms, and replacement intervals are often specified by the manufacturer.
- Practical replacement can be as frequent as every 6-18 months, depending on volume and roast.
Again, these are generalized; the real value is tracking your own grinder's drift and mapping that to your usage.
5. Burr replacement indicators vs. full grinder replacement
You do not need to guess when to replace burrs. Look for a combination of these burr replacement indicators:
- You are grinding significantly finer than when the grinder was new to hit the same shot/brew times.
- Even at finer settings, extraction yields are trending lower on your standard test recipe.
- Espresso becomes highly sensitive to puck prep; small tamp or distribution errors cause major channeling where they did not before.
- Filter brews taste flatter and more astringent, yet fines in the cup seem more noticeable.
- Visually, burrs show heavy polishing and rounded edges.
When several of these line up, burr replacement is usually a better move than tolerating creeping inconsistency.
Grinder component lifespan and cost math
From a transparent cost math perspective, burrs are often the cheapest major component:
- Example: a $70 burr set that realistically handles 300 kg of coffee.
- A home user drinking 20 g/day uses ~7.3 kg/year.
- That burr set then spans roughly 40+ years at that rate (well beyond how long many people keep a grinder).
In practice, other parts - bearings, motor, electronics, alignment shims - may dictate the grinder's true lifespan. I have kept a modest hand grinder running for years with nothing more than an inexpensive bearing and a later burr upgrade; the cumulative cost was still well below replacing the grinder. Considering an upgrade path instead of a full replacement? Start with our SSP burr upgrade guide.
This is why I care so much about upgrade path clarity and spare parts availability. If burrs, bearings, and basic hardware are easy to source, you can stretch the grinder's usable life dramatically instead of sending a mostly functional machine to landfill.
6. Maintenance to slow wear (and protect the rest of the grinder)
Basic habits extend both burr and grinder component lifespan:
- Keep beans clean: Avoid pebbles and foreign objects; they can chip burr edges instantly.
- Avoid flavored or oily beans: They gum up the burrs and chute, increasing heat and wear.
- Regular cleaning schedule:
- Light home use: brush/vacuum monthly, deep clean every 3-6 months.
- Heavy home use: brush weekly, deep clean every 1-3 months.
- Check alignment and mounts after any transport or if you notice new noises; misalignment can cause uneven burr contact and accelerate wear. Build a reliable routine with our step-by-step grinder cleaning guide.
A bit of preventive care reduces both performance drift and the risk of costly component failures.
7. Actionable next step: build your personal wear log
Instead of wondering if your burrs are "done," give yourself data:
- Establish a baseline this week
- Pick one coffee you know well.
- Record: dose, grind setting, beverage weight, time, and (if available) TDS/extraction yield.
- Taste-note the cup in a sentence or two.
- Create a simple grinder log
- A note on your phone or a small notebook near the grinder is enough.
- Each time you change beans or notice yourself moving much finer, jot down the date, setting, and rough monthly usage.
- Schedule periodic checks
- Every 3-6 months, repeat your baseline brew and compare settings, times, and extraction.
- Once a year, perform a careful visual and tactile burr inspection.
- Decide on a replacement trigger
- For example: "If I have to move more than X notches finer and see a consistent drop in extraction on my baseline recipe, I will budget for new burrs."
- Plan your upgrade path, not just the next purchase
- Check now whether your grinder's burrs and bearings are available as spare parts, and keep a short spare parts list (burr set model, screws, shims, bearings).
- When you do eventually change grinders, favor models with documented parts support and clear burr upgrade options.
If you give yourself even this modest level of tracking, you will know how your grinder is aging, you will catch performance degradation early, and you can make calm, data-driven decisions about burr replacement instead of reacting to inconsistent cups.
Related Articles