Dial In Coffee Fast: Essential Grind Size Guide
By Omar Farouk • 11th Oct
If your coffee tastes sour one morning and bitter the next, your grind size guide holds the solution. Learning to dial in coffee isn't about chasing perfection, it is about creating repeatable clarity through controlled adjustments. I've seen countless home baristas waste beans frantically changing settings, only to end up overwhelmed. But when we simplify the process (focusing on one variable at a time), everything clicks. Let's build your foundation with actionable steps you can trust.
Why Grind Size Controls Your Coffee's Soul
Think of coffee particles as tiny sponges. Water extracts flavor by hugging their surfaces. Too coarse, and water rushes past under-extracted particles (sour notes). Too fine, and it drowns slow-moving grounds (bitter notes). Your grinder's setting directly controls this intimacy between water and coffee.
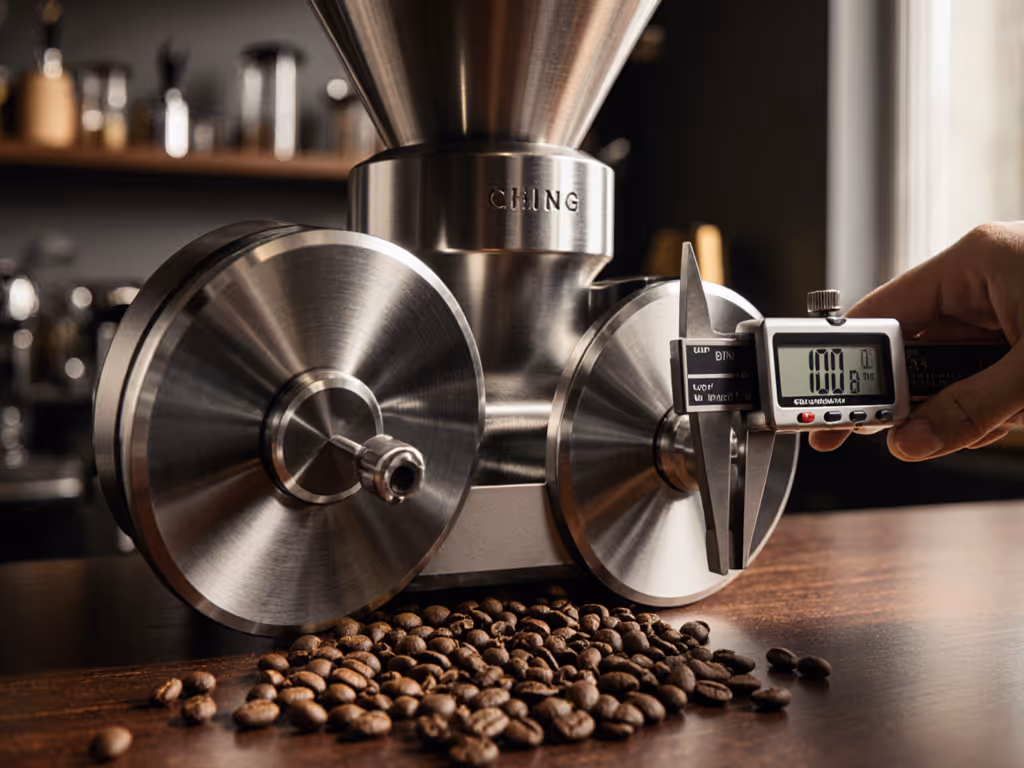
This is where grind consistency matters most. Uneven particles mean some over-extract while others under-extract, creating that muddy, confusing cup you're trying to fix. A quality grinder minimizes this, but even entry-level models can produce balanced coffee if you dial in methodically.
The Physics of Patience: Time vs. Texture
Brew time and grind size are silent partners. Short brews (espresso: 25-30 seconds) need fine particles for quick extraction. Long brews (French press: 4+ minutes) demand coarse particles to avoid over-extraction. It is not opinion, it is physics.
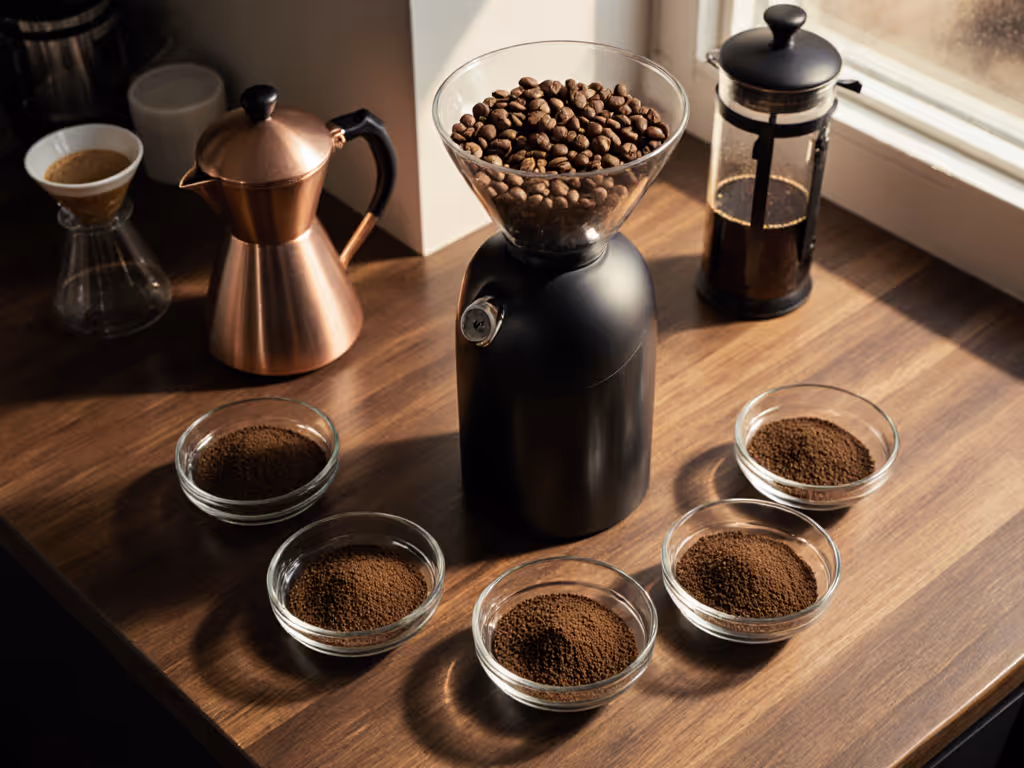
| Brew Method | Ideal Grind Size | Visual Cue | Typical Brew Time |
|---|---|---|---|
| Turkish | Ultra-fine (40-220μm) | Powdered sugar | 2-3 mins |
| Espresso | Fine (180-380μm) | Table salt | 25-30 secs |
| Pour-Over | Medium-fine | Sand | 2:30-3:30 mins |
| French Press | Coarse | Sea salt | 4+ mins |
| Cold Brew | Extra-coarse | Rough gravel | 12-24 hours |
Remember this cause-to-effect framing: Shorter contact time = finer grind. It's your compass when starting from zero.
Your 3-Step Method-First Dial-In Sequence
Forget complicated charts. For a step-by-step walkthrough that minimizes waste, see our dial-in guide. Follow this repeatable sequence for any brew method, whether you're using a $150 grinder or a pro model. It's the same process I used with my cousin when we taped a card to her grinder: change only one thing.
Step 1: Establish Your Baseline (2 Minutes)
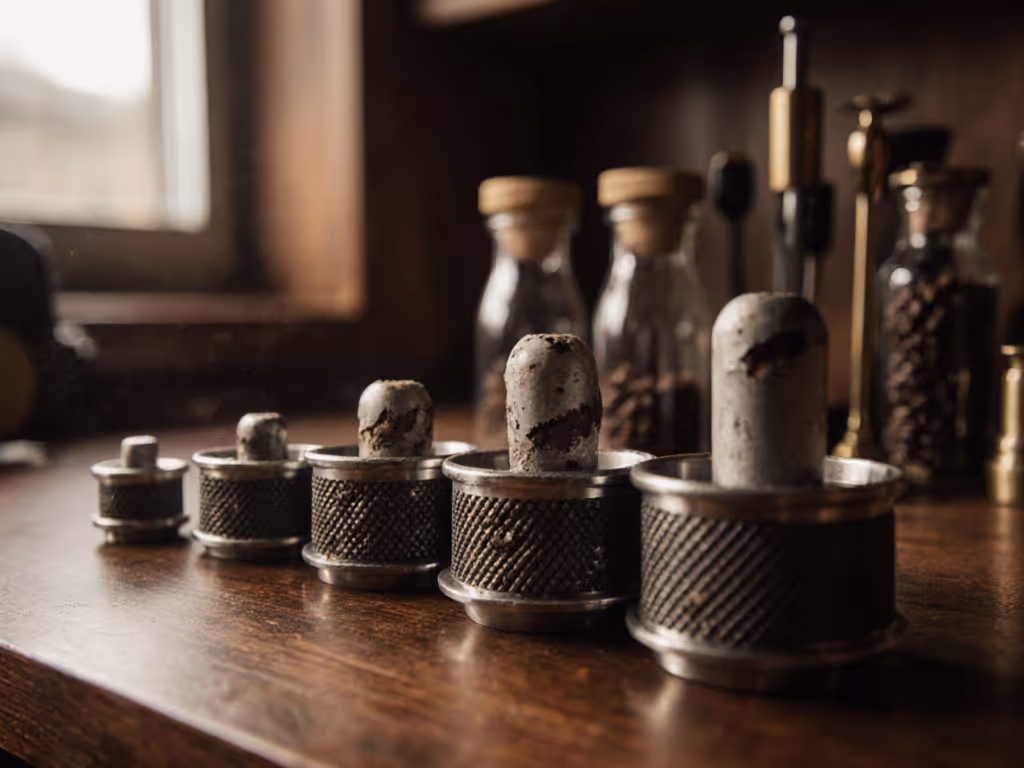
Start with a visual reference, not numbers. Fill your portafilter or dripper with grounds and tilt it. A medium-fine pour-over grind should resemble wet sand (no visible boulders, but not dusty either). For French press, aim for coarse sea salt texture.
- If your grinder has numbered settings (like the Baratza Encore), begin at the midpoint for your brew method (e.g., #20 for V60). No need to memorize microns, your senses will guide you.
- If it's unmarked, grind until particles feel uniform between your fingers. This is your launchpad.
Step 2: Brew & Diagnose (5 Minutes)
Make coffee exactly as you normally would. Time it. Note the flow:
- Too fast? Water gushing through = grind too coarse → bitterness (over-extraction) or weakness (if under-extracted due to channeling)
- Too slow? Dripping minimally = grind too fine → sourness (under-extraction) or stagnation (clogging)
This is where brew time adjustment becomes your metric. If your pour-over takes 2:00 instead of 2:30, your grind is likely too coarse. Simple.
Step 3: One-Tweak Calibration (The Heart of Dialing In)
Here's where most give up, but not you. Change one variable, taste twice, write it down. That's the mantra that transformed my cousin's morning ritual.
- Adjust ONLY the grind (finer/coarser) by one setting. Never change dose, time, or pressure simultaneously.
- Brew the same recipe immediately after.
- Compare: Is it smoother? Brighter? Flatter? Record observations in 3 words ("balanced citrus," "muddy body").
After 2-3 iterations, you'll hit your method-first fit, the sweet spot where your brew method's requirements align with your grinder's output.
Extraction Troubleshooting: Your Quick-Reference Flow
When things go wrong, use this decision tree instead of guessing. It turns extraction troubleshooting into micro-goals.
Sour coffee? → Under-extraction → Grind finer (or extend brew time slightly). Not add more coffee.
Bitter coffee? → Over-extraction → Grind coarser (or shorten brew time). Not reduce dose.
Inconsistent shots? → Grind inconsistency → Clean grinder burrs or reduce static with a humidifier. Not buy new burrs yet.
Notice the pattern? Every symptom points to one actionable lever. This is why beginners succeed faster with method-first fit: it isolates the variable that matters most for their specific brewer.
Why This Works When Other Methods Fail
Most guides dump grind charts with 10+ settings. But real-world variables (humidity, bean age, water pressure) mean your #15 isn't my #15. The power here is in your process:
- You're training your palate through deliberate comparison
- You're building a personal grind setting reference for your machine and beans
- You're avoiding the paralysis of "perfect" metrics
I've seen people dial in espresso in under 15 minutes using this sequence, starting with that same grinder-tape trick. When my cousin's third kettle produced a cup with clear caramel notes instead of generic "coffee taste," she didn't just get better coffee. She got confidence that stuck.
Your Next 10 Minutes: Actionable Clarity
Grab your grinder now. Pick one brew method you use daily. Follow the 3-step sequence:
- Measure your current brew time with a timer
- Tweak only the grind based on flow speed
- Record in a notes app: "Grind #18 → 2:45 brew → bright stone fruit"
Do this twice this week. Notice how small, controlled changes build certainty faster than chasing exotic hacks. Your perfect grind isn't locked in a lab chart, it is waiting in your next two-minute calibration session.
When you find that sweet spot, you won't just taste the difference. You'll feel the shift from guessing to knowing. That's the real prize of dialing in coffee.
Related Articles